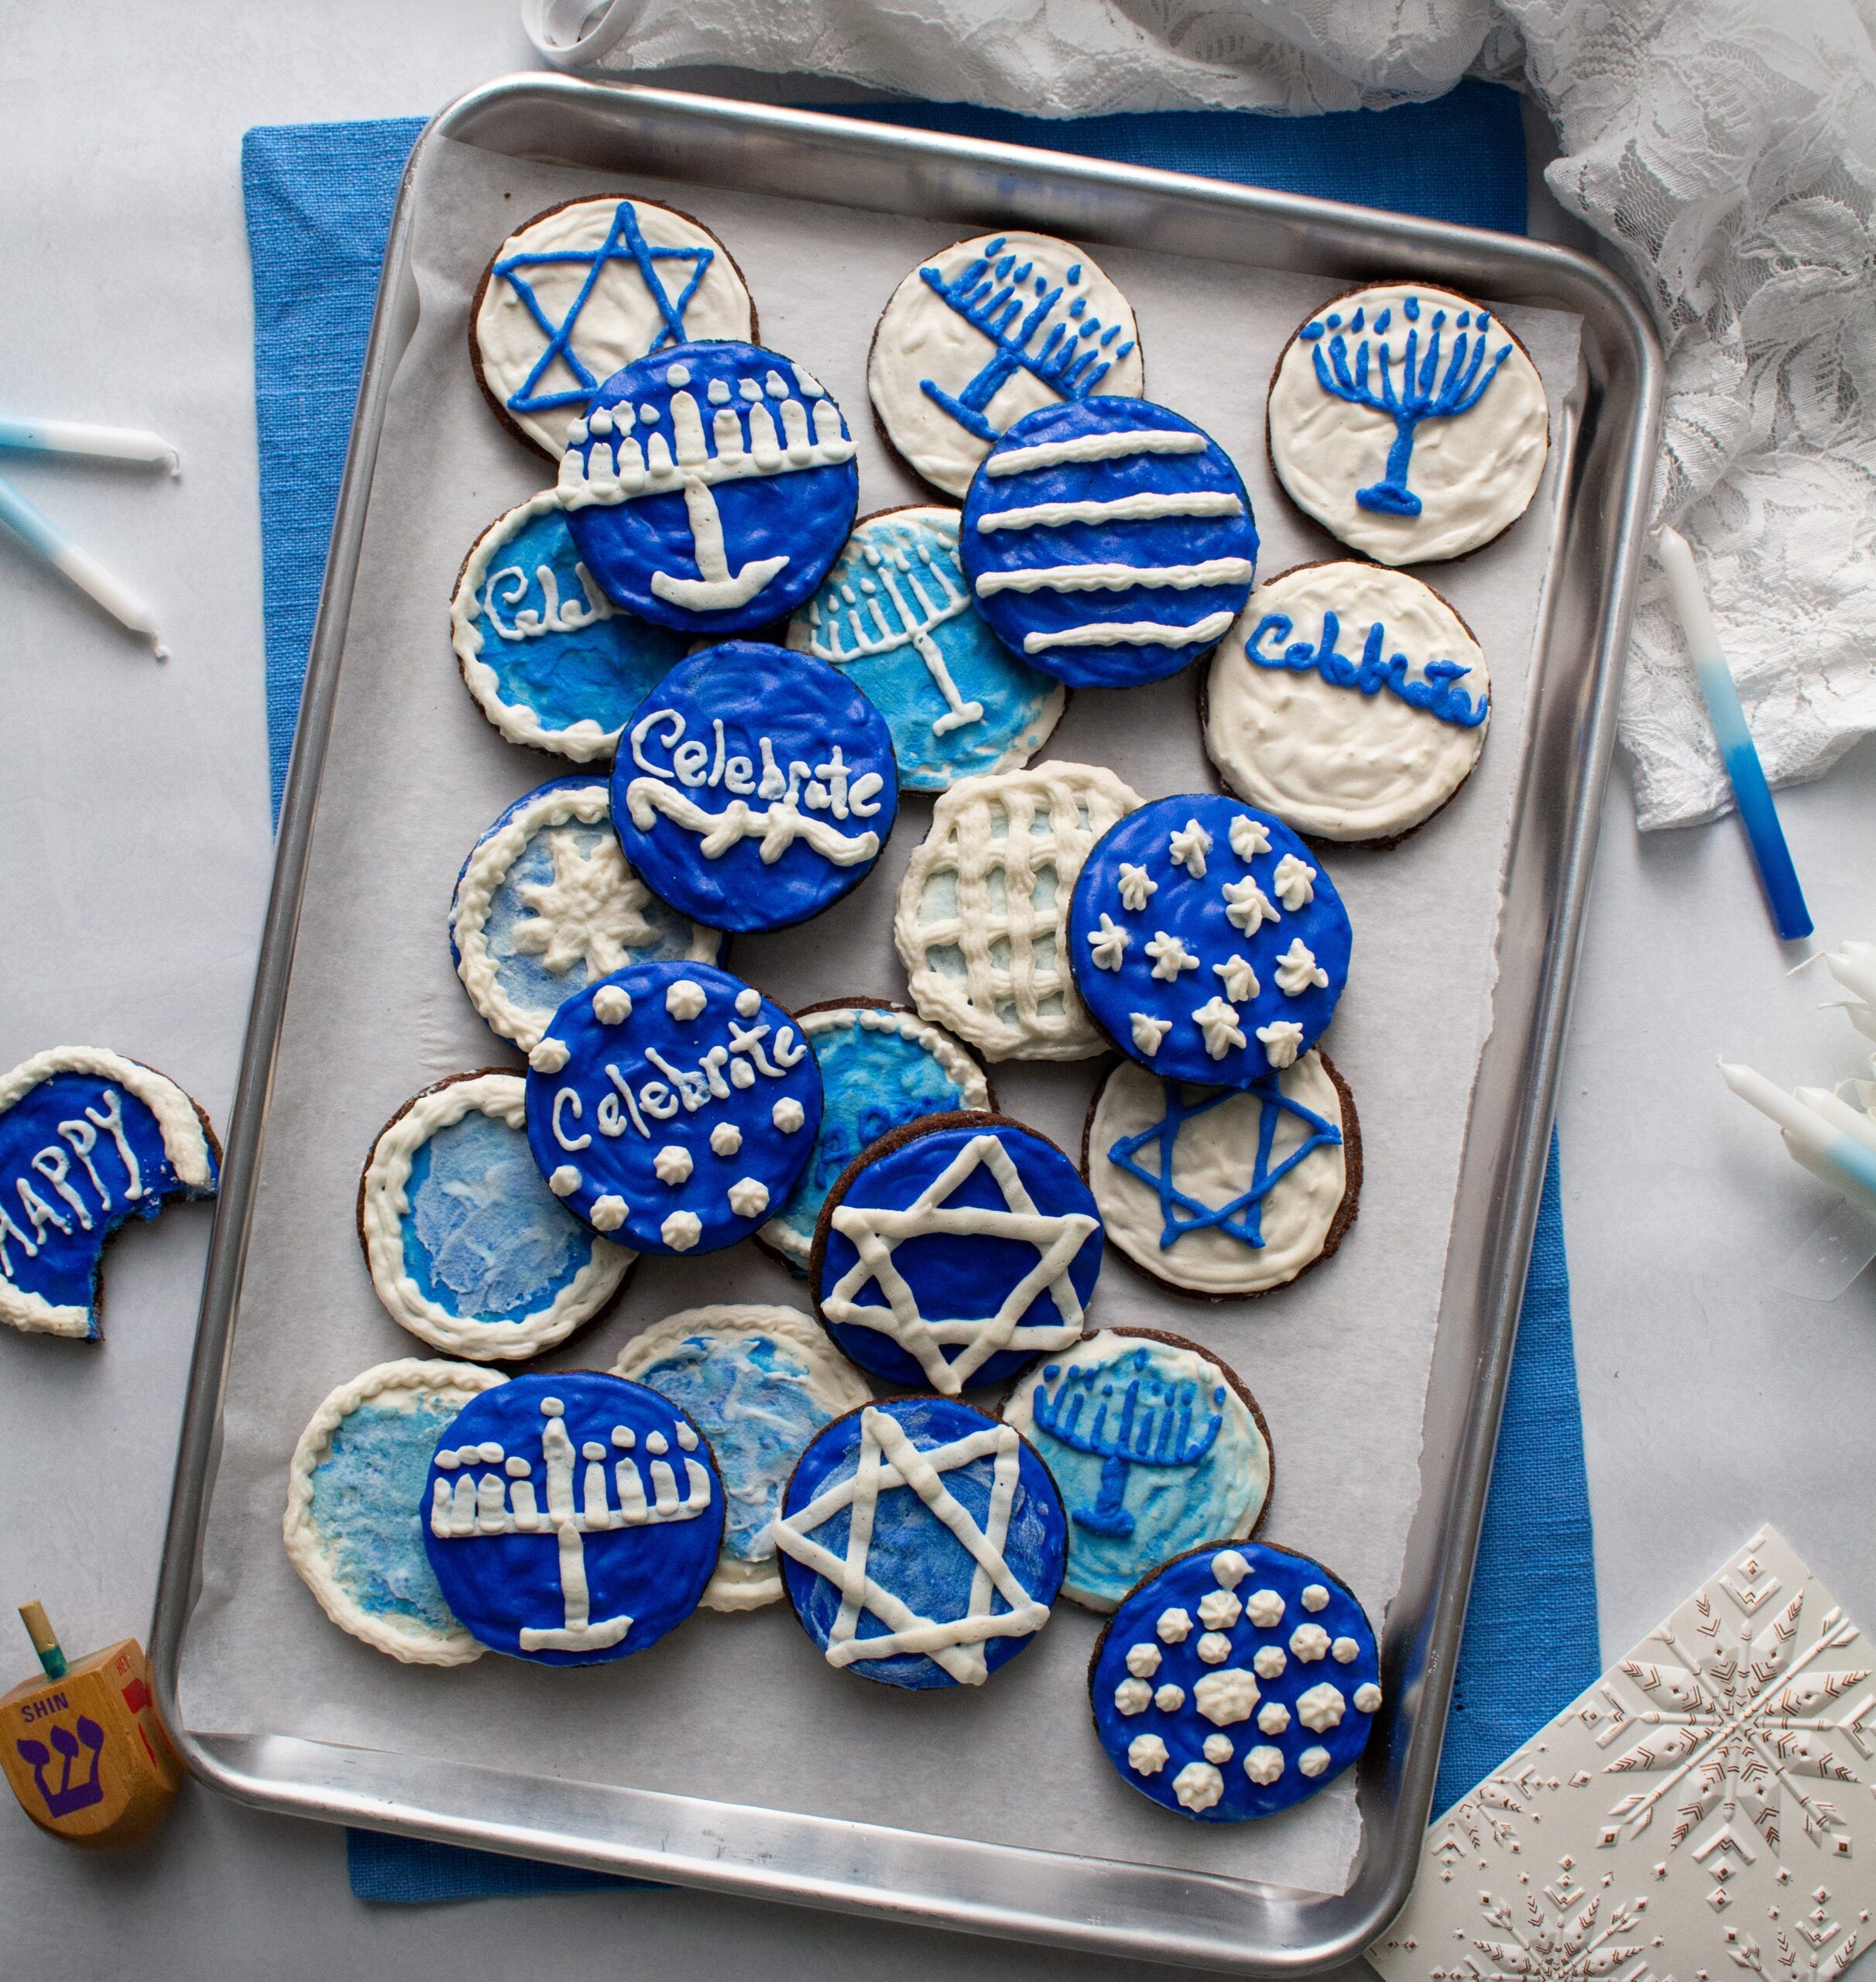
These crunchy chocolate cookies have just the right amount of cinnamon to delight your taste buds, and the vanilla icing adds the perfect amount of holiday sweetness. Make these cookies for an extra special treat this Chanukah.
Yield: 24 large cookies
Serving size: 1 cookie
Ingredients for the cookies:
- 3 cups (336g) super fine almond flour
- 1/2 cup (43g) unsweetened cocoa powder
- 1/2 cup (96g) natural, non-GMO granular erythritol
- 1 tsp. (0.1g) instant coffee
- 1 tsp. (2.6g) ground cinnamon
- 1/4 tsp. (1.5g) salt
- 1/2 tsp. (2.4g) baking powder
- 2 large eggs
- 4oz (113.4g) cream cheese, softened
- 1 tbsp. (15g) pure vanilla extract
Ingredients for the vanilla royal icing:
- 2 cups (288g) natural, non-GMO confectioners/powdered erythritol
- 4 tbsp (56.7g) egg white powder
- 1/2 cup (118.5g) water
- 1 tsp. (5g) pure vanilla extract
- optional: sugar-free food coloring
Directions for making the cookies:
- Preheat the oven to 350° F (180°C) and line two cookie sheets with parchment paper.
- Add all the dry ingredients to a large bowl.
- Using a fork, break up any lumps and mix well.
- Use the fork to form a well in the center of the flour mixture.
- To the well, add the eggs, cream cheese, and vanilla.
- Using the fork, mix the ingredients until a sticky dough begins to form.
- Turn the dough out onto a clean work surface and knead it until it forms a well combined and workable cookie dough.
- Shape the dough into a ball. Break off a chunk of the ball to roll out, and wrap the rest of it in a piece of parchment paper to keep it from drying out.
- Place the unwrapped piece of dough onto a sheet of parchment paper. I like to use blue painter’s tape to secure my parchment paper to my work surface. Doing this keeps the paper in place, making rolling out the dough a lot easier.
- Place another piece of parchment over the top of the dough, and using your hands, press to flatten it out a bit.
- Roll the dough out to an even thickness of about one-quarter of an inch thick (0.64cm) using a rolling pin.
- Remove the top sheet of paper.
- Use three inch round cookie/biscut cutters to cut out cookies, and carefully place them onto the lined cookie sheet.
- Space the cookies about a half inch apart on the cookie sheet.
- When the cookie sheet is full, place it into the preheated oven to bake for about 16-17 minutes until the cookies are done.
- Repeat the process until you have used all of the dough, re-rolling the scraps as needed.
- Cool the baked cookies completely before icing.
Directions for making the icing:
- Place the powdered erythritol and the egg white powder into a bowl.
- Use a whisk to break up any lumps and combine the powders.
- Add in the water. Using an electric mixer, blend well.
- Add in the vanilla.
- Scrape down any powder on the sides of the bowl, and using an electric mixer, whip until the mixture forms soft peaks. This part will take some patience and may require switching hands now and then, as it can take a few minutes to reach the desired consistency.
- When the icing is ready, you can divide it up to make different colors using food coloring. *See my note on sugar-free food coloring below this recipe.
Decorating the cookies:
- You can use either a pastry bag with a small decorating tip or a plastic storage bag with just a tiny bit of the corner cut off to decorate your cookies. To avoid getting stained hands, I recommend wearing disposable gloves.
- Begin by outlining a cookie with the icing. Then fill in the middle.
- Use a toothpick to blend and spread the icing evenly across the cookie.
- Use the point of the toothpick to get rid of any air bubbles in the icing.
- It’s best to wait for the first coating of icing to dry completely before applying more. If you want a double layer of icing on your cookies, let the cookies dry completely and make a fresh batch of icing. I’ve also found that laying colors next to each other works best if you allow the first color to set a little.
- Allow the finished decorated cookies to dry completely before storing them. Store in a covered container in the refrigerator.

*Note: Most of the more familiar brands of food coloring contain some form of sugar as the predominant ingredient used. The food coloring I use is 100% sugar-free and is compliant with both the ketogenic and diabetic diets. For more detailed information on the food coloring I use and a demonstration of how to ice the cookies, please watch the Halloween Cookies episode on my YouTube channel. Here’s a link to the episode: https://youtu.be/78VJJRTCT04
Links to the food coloring ⬇️⬇️⬇️
DECOPAC PREMIUM AIRBRUSH COLOR MULTIPACK: https://amzn.to/3pbg45r
DECOPAC PREMIUM AIRBRUSH COLOR – WHITE: https://amzn.to/2XelReI
DECOPAC PREMIUM AIRBRUSH COLOR – VIOLET: https://amzn.to/3FOqm12
DECOPAC PREMIUM AIRBRUSH COLOR – SUNSET ORANGE: https://amzn.to/3FS4WQA