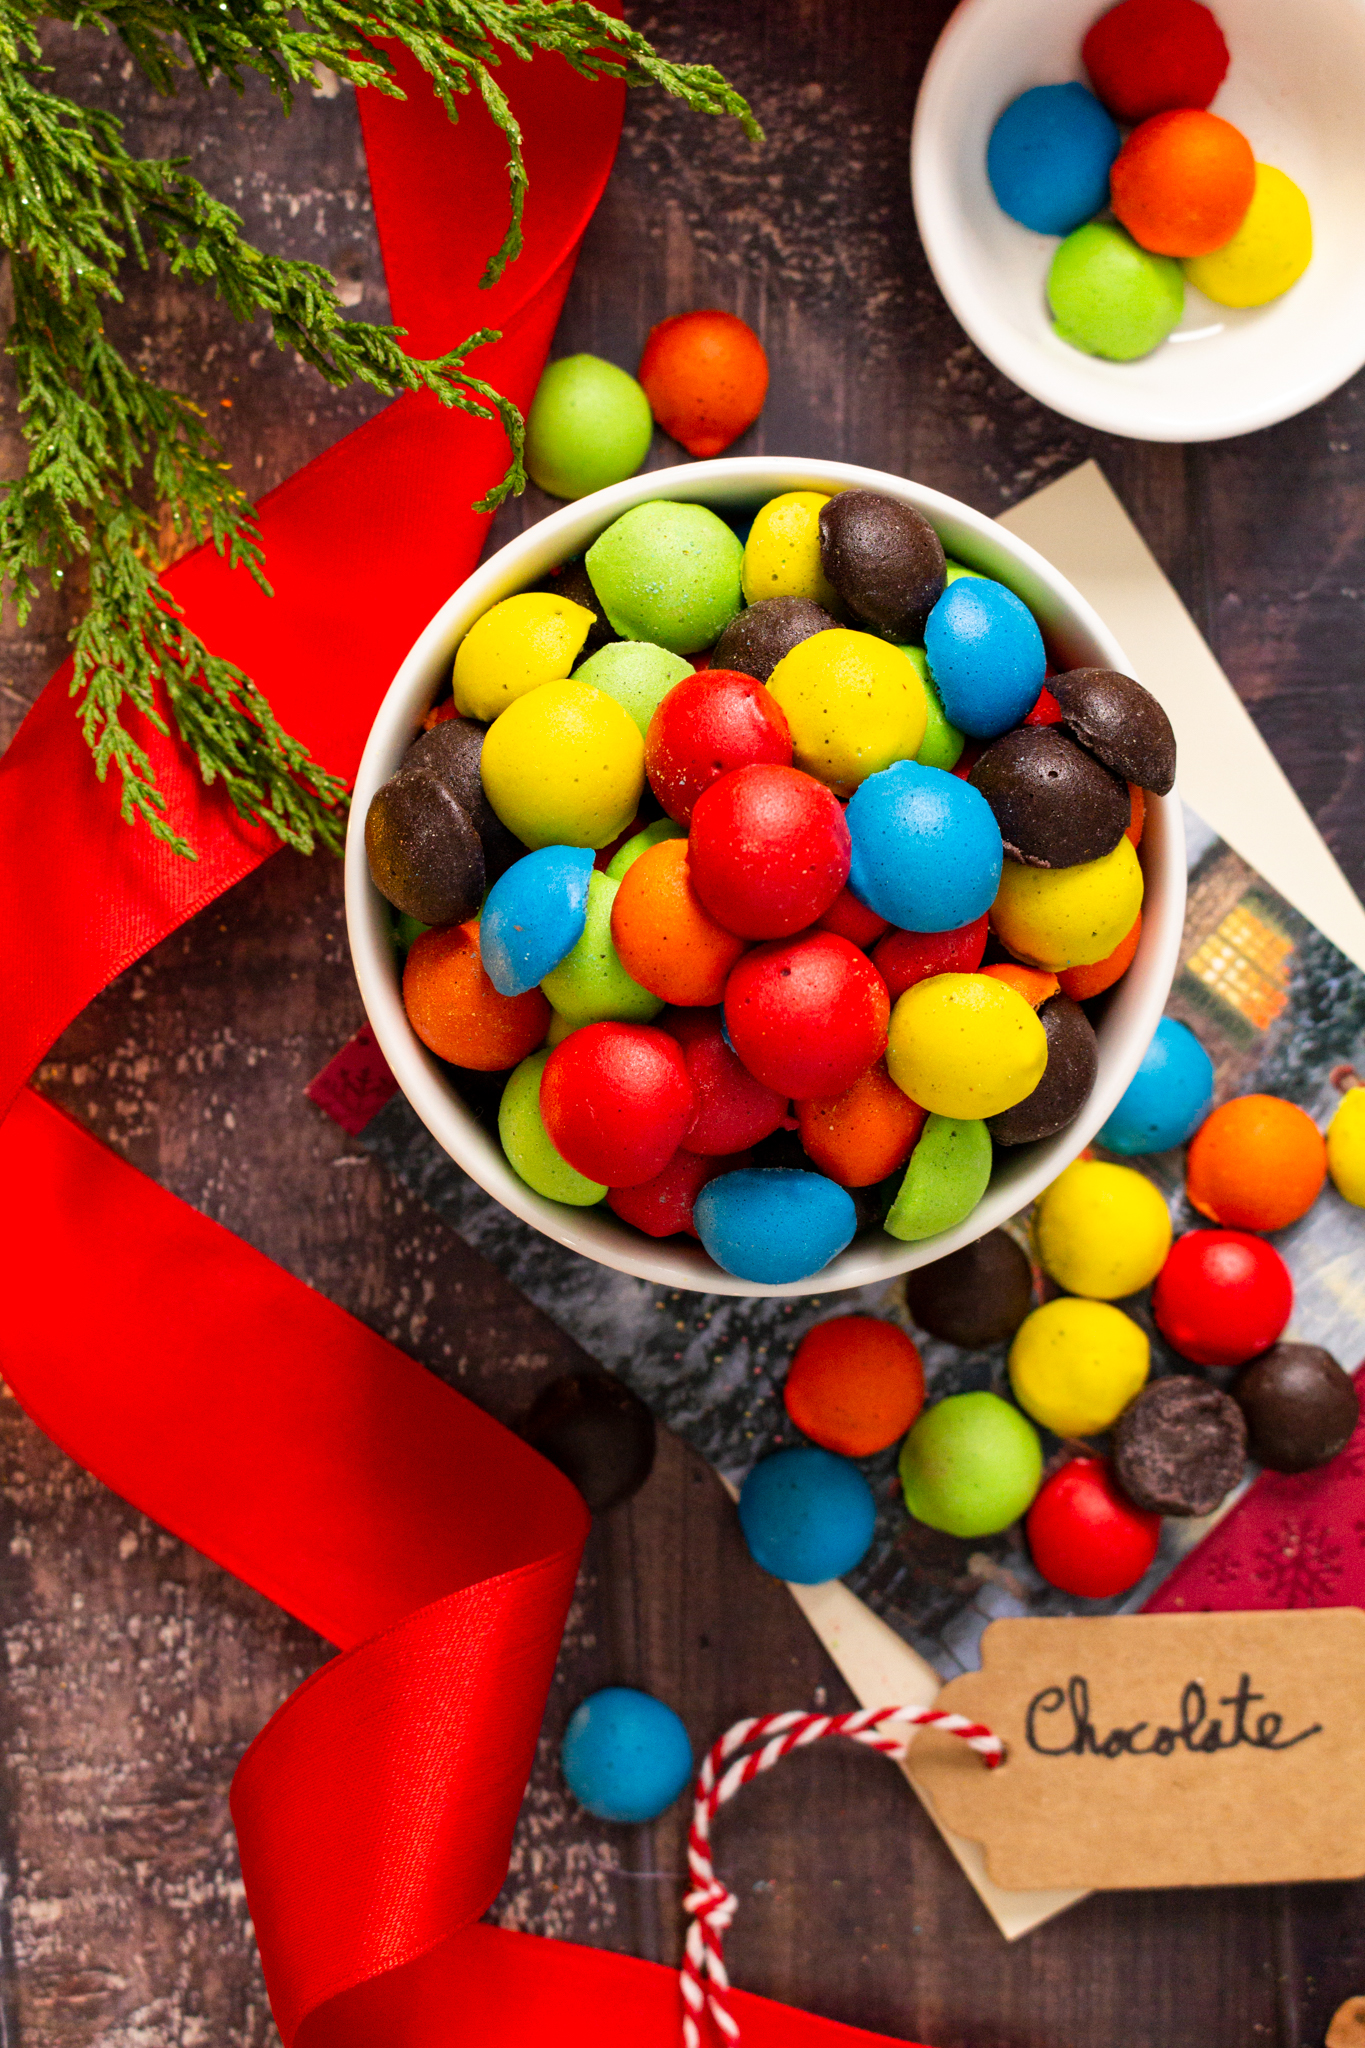
These colorful candy-coated chocolates are a fun and festive way to add sweetness to the holidays.
Yield: 140 candies
Serving size: 5 candies
Ingredients:
- 9 oz (255.15g) sugar-free chocolate chips
- 2 cups (288g) powdered erythritol
- 2/3 cup (156.42g) water
- 4 tbsp. (56.7g) egg white powder
- 1 tsp. (5g) vanilla
- optional sugar-free food coloring
Directions:
- Place a silicone chocolate/candy mold onto a baking sheet to support it. The one I used had 140 small round cavities that measured 1/2 inch (1.27 centimeters) in diameter and were about 1/3 inch (0.85 centimeters) deep. You can use any similarly sized silicone candy mold.
- Pour all but 2oz (56.7g) of the chocolate chips into a heat-proof bowl. Microwave them at 30-second intervals, mixing between each interval, until the chocolate has melted.
- Add the remaining chocolate to the bowl and mix it until all of the chocolate has melted.
- Spoon the melted chocolate into a piping bag with a small piece snipped off the end.
- Pipe some chocolate into each cavity. I filled each one approximately halfway with chocolate, dividing the melted chocolate evenly between each.
- Without lifting it, give the filled mold a quick jiggle from side to side and up and back to smooth out the surface of the chocolate. Doing this will make coating each chocolate easier and give the finished candy a more pleasing presentation.
- Place the mold into the refrigerator for an hour or so to set.
- Once the chocolate has set, you are ready for the next steps.
- To make the outer candy coating for the chocolate, place the powdered erythritol and the egg white powder into a bowl. Use a whisk to break up any lumps and to combine the powders.
- Add in the water. Using an electric mixer, blend well.
- Add in the vanilla.
- Scrape down any powder on the sides of the bowl, and using an electric mixer, whip until the mixture forms soft peaks. This part will take some patience and may require switching hands now and then, as it can take a few minutes to reach the desired consistency.
- If you would like your candy to be colorful, divide the mixture into separate bowls and make each one a different color using food coloring. I split mine between six bowls and made six distinct colors, but you can do as few or as many colors as you like. You can even leave the candy white if you don’t want to use food coloring. *Please see my note on sugar-free food coloring below this recipe.
- Line a baking sheet with parchment paper.
- Remove the chocolate from the molds, and dip each chocolate into the candy coating using a dipping scoop or a fork. Use a small spoon to help you coat the top side of each chocolate with candy, if necessary.
- Gently tap the fork on the side of the bowl to remove any excess coating. Using a toothpick, carefully slide the dipped candy off of the fork and onto the lined baking sheet.
- Once the baking sheet is full of candy, place it in front of a fan set on high to dry. It’s okay if you don’t have a fan, it will just take a bit longer for the candy to dry and set.
- Once the candy has dried, carefully remove it from the paper and flake off any excess candy from the edges. One way to do this is by gingerly rolling the candy on the parchment to smooth the edges.
- Store any leftover candy in a covered container in the refrigerator.

*Note: Most of the more familiar brands of food coloring contain some form of sugar as the predominant ingredient. The food coloring I use is 100% sugar-free and complies with ketogenic and diabetic diets.
Here are the food coloring brands I trust and use for my baking needs; all are available on Amazon:
BAKERPAN FOOD COLORING MARKERS: https://amzn.to/3qhdeuv
DECOPAC PREMIUM AIRBRUSH COLOR – WHITE: https://amzn.to/2XelReI
DECOPAC PREMIUM AIRBRUSH COLOR MULTIPACK: https://amzn.to/3pbg45r
DECOPAC PREMIUM AIRBRUSH COLOR – VIOLET: https://amzn.to/3FOqm12
DECOPAC PREMIUM AIRBRUSH COLOR – SUNSET ORANGE: https://amzn.to/3FS4WQA


