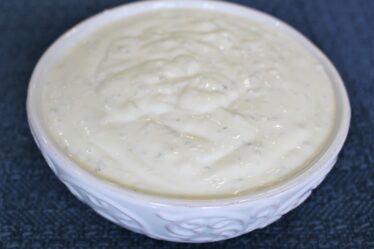
This smooth, silky vanilla custard makes me feel happy and nostalgic. It was one of my dad’s favorite desserts when I was a child. Every Sunday, he would buy little cups of custard from the neighborhood deli and bring them home for us all to have for dessert on Sunday afternoons.
I hope you’ll enjoy this recipe as much as my family does.

Yield: 8 servings
Serving size: 1 ramekin
Ingredients:
- 4 large eggs
- 1/2 cup natural, non-GMO granular erythritol
- 3 cups heavy whipping cream
- 1 cup water
- 2 tbsp. pure vanilla extract
- cinnamon or nutmeg
Directions:
- Preheat the oven to 325° F.
- In a medium sized bowl, whisk the eggs with the erythritol until well combined.
- Add in the heavy cream, water, and vanilla. Whisk well to combine. Set aside for now.
- Place 8 ramekins, or 8 oven proof dessert cups, into a deep lasagna pan or roasting pan. Make sure to space them evenly apart.
- Evenly distribute the custard mixture into the ramekins. To do this more easily and with less mess, first transfer the custard mixture into a large pitcher with a pouring spout, and then pour it from there into your ramekins.
- Add water to the inside of the roasting pan, around the custard cups. Be careful not to get any water into the custard. The water should come about 1/2 way up the sides of the ramekins. (See photo below recipe.)
- Place the entire pan with the water and custards into the center of the preheated oven.
- Bake for 65-75 minutes, or until the custard is golden brown on top and a knife inserted into the center of the custard comes out clean.
- Place the entire pan onto a wire rack to cool for about 5 minutes, or until the ramekins are cool enough to handle. Carefully remove the ramekins of custard from the pan. Set them on a wire rack to cool for another 15-20 minutes.
- Sprinkle the tops of the custards with a little cinnamon or nutmeg, if desired. Place the custards into the refrigerator to chill.
- Once the custards are completely chilled, cover them.
- For best flavor and consistency, chill for several hours or overnight.
Photo for step 6


